If you have ever tried to run a class, host an event, or book client calls through your WordPress site, you know how quickly the back-and-forth emails and calendar invites can become a mess. It does not take long before someone misses a link, forgets a time, or shows up on the wrong day.
That is where an online wordpress booking plugin comes in. A good one makes it easy for your visitors to sign up, know what to expect, and show up with confidence. Plus, it helps you stay organized and in control without spending hours on admin work.
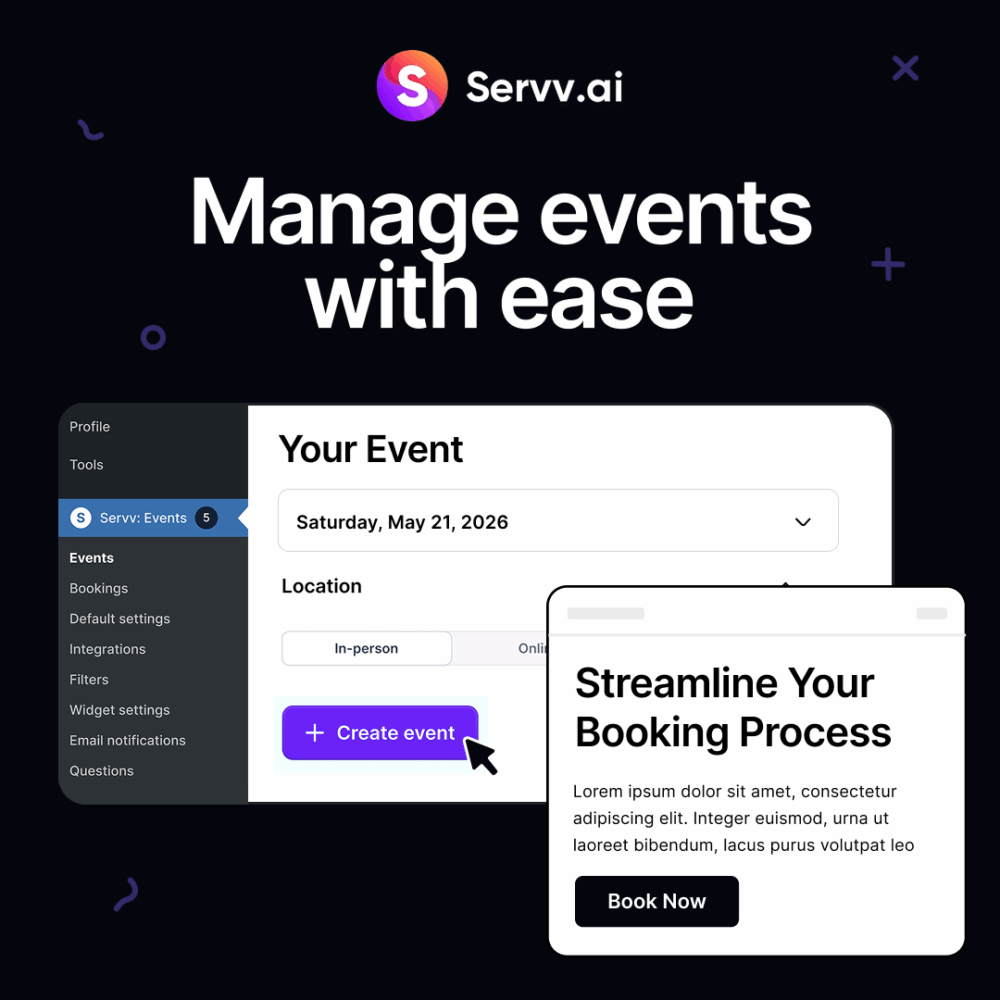
In this guide, we will walk through how to set up an online booking system on your WordPress website using Servv—a new event booking plugin designed to make scheduling easy, clear, and stress-free.
Whether you are a coach, teacher, consultant, or community organizer, this step-by-step guide will help you create a setup that works for your needs.
Step 1: Install the Servv WordPress Booking Plugin
Before anything else, you will need to install the Servv plugin on your WordPress site.
Here is how:
- 1. Log in to your WordPress dashboard.
- 2. Go to the Plugins section and click Add New.
- 3. Search for “Servv” in the search bar.
- 4. Click Install and then Activate.
Once activated, you will see a new Servv tab in your dashboard menu. This is where you will manage all of your bookings.
Step 2: Set Up Your First Event
Click on the Servv WordPress booking plugin tab and choose Add New Event.
You will be asked to fill in the basics:
- Title: What is your event called?
- Description: What will people learn, do, or experience?
- Time and Date: Choose when the event will start and end.
- Location: Add a Zoom link or physical address.
You can also set a limit on how many people can join, whether registration is required, and whether the event repeats.
Step 3: Enable Online Booking
To allow visitors to book a spot directly from your site:
- – Make sure the “Allow Booking” option is enabled in your event settings.
- – Choose how you want to collect information—name, email, and any other custom fields.
- – Set up confirmation emails to go out automatically.
With Servv, you do not need a separate form builder or mailing tool. Everything is included right in the plugin, so setup takes minutes, not days.
Step 4: Customize the Booking Experience
Your booking form should match your brand and speak directly to your audience. Servv lets you customize:
- – The colors and style of your event display.
- – The language used on buttons and confirmation messages.
- – The content of your automated emails.
Think of this as your welcome mat. The more inviting and personal it feels, the more likely people are to sign up.
You can also add custom questions to your booking form if you need more details from your attendees. For example:
- What is your time zone?
- Do you have any dietary restrictions (for in-person events)?
- What do you hope to learn or achieve?
These touches show that you care and help you prepare.
Step 5: Add the Booking Form to Your Website
Now it is time to let the world see it.
Servv gives you shortcode options to embed your booking form anywhere on your site. You can:
- – Create a dedicated event page.
- – Embed the form on your homepage.
- – Add it to your blog posts or sidebars.
Wherever you put it, make sure the call to action is clear. Use language that tells visitors what to do next, like:
- Reserve your spot now
- Join us this Friday
- Book your free consultation
Keep it simple and clear.
Step 6: Set Up Reminders and Calendar Invites
Once someone registers, what happens next?
Servv takes care of the follow-up. Here is what you can configure:
- – Confirmation emails
- – Reminder emails (you choose how far in advance)
- – Calendar invites that sync with Google Calendar
These features help reduce no-shows and keep everyone on the same page. The more confident people feel about what to expect, the more likely they are to attend.
Step 7: Test the Full Flow for Servv WordPress Booking Plugin
Before launching publicly, go through the process yourself. Pretend you are a visitor and:
- 1. Find your event page.
- 2. Fill out the booking form.
- 3. Check your email inbox for confirmation.
- 4. See if the calendar invite looks right.
- 5. Make sure the Zoom link works or the location is clear.
This test will help you catch any small issues and feel confident that your system is working the way you want.
Bonus Features to Explore
Once you are up and running, there are a few more tools within Servv that can make your booking experience even better.
AI Powered
Servv uses artificial intelligence to automatically generate compelling event descriptions, relevant tags, and other key details based on your basic event information.
Recurring Events
If you host the same class every week, use the recurring event option to create a full series in just a few clicks. You can still customize each session if needed.
Zoom Integration
Servv creates Zoom links automatically, so you do not have to manage them manually. This makes things easier for both you and your attendees.
Custom Follow Ups
You can create post-event emails to thank attendees, share resources, or ask for feedback. This keeps the connection going and helps you improve future events.
Why Use Servv Instead of Booking Attendees Manually?
You could try to use multiple tools—a form builder, a calendar plugin, an email marketing tool, and a Zoom scheduler. But why do that when Servv brings it all into one system?
Here is what Servv helps you avoid:
- – Confusing back-and-forth emails
- – Missed meetings from forgotten calendar invites
- – Manual data entry from one tool to another
- – Clunky booking pages that scare people away
Instead, you get a simple system that works smoothly from the first click to the final thank you.
Real-Life Example
Let us say you are a fitness coach offering a weekly online class.
- – You create one recurring event in Servv that repeats every Thursday at 6 PM.
- – Each time someone books, they get a Zoom link and calendar invite.
- – You receive an email with their name and any notes they left.
- – You follow up after class with a thank-you message and a recording.
All of that happens automatically. That is the power of a clear and thoughtful booking system.
Common Mistakes to Avoid
- Not testing your setup before sharing the link
- Forgetting to customize email content
- Using unclear event names or descriptions
- Overloading the booking form with too many questions
- Hiding your booking link deep inside your site
A good booking system is simple and friendly. Think about how you would want the experience to feel if you were the visitor.
Download the Servv WordPress Booking Plugin Today
An online booking system is more than just a calendar with a form. It is how your audience interacts with you. It is the start of their experience.
When your booking process is clear, warm, and reliable, people feel confident showing up. And that confidence builds trust.
Servv makes it possible to set up a booking system that works for you and your visitors. From first click to final thank you, you have control over the details while letting the system handle the work.
Whether you are hosting a single event or managing a full calendar of sessions, Servv helps you stay organized, look professional, and create a better experience every time.
To see how other businesses like yours have benefited from integrating the Servv WordPress booking plugin into their website, check out the case studies on our website.
To begin integrating the Servv plugin on your website, schedule a free onboarding call with a member of our support team.
—
Disclaimer: WordPress is a registered trademark of the WordPress Foundation. This site is not affiliated with or endorsed by the WordPress Foundation. For more information, please visit link